Translate

Friday, February 26, 2016

Fleet Review: Life-Like EMD SD 7/9

Life-Like in my minimal experience makes some respectable, and affordable locomotives. Their SD 7/9's are no exception, and while they are no longer made, can often be found for a bargain at various train shows and auction sites (aka the e-bay).
I got my pair for a hefty $20 per engine at a local show. I just couldn't say no to that price.


A dynamic duo

On first inspection, they are well detailed,with nice paint(I got the EMD demonstrator versions), and the plastic hand rails are not ugly and over sized. Initially they come with rapido couplers, but the 2 I got were modified with some nice MT knuckles. While not super hefty, they are not light either(that said an extra ounce may help them pull more). 


paint me like one of you French women...

Inside you get a nice 5 pole motor with 2 fly wheels. the whole chassis is plastic with weights on top of the gear towers. Underneath, all 12 wheels suck up juice from the track with the 2 outer axles on each truck actually being driven. No traction tires on these puppies, though if you wanted to add one on one of the driven wheels, it probably wont hurt pickup too much.

Powering through the inner loop

Thanks to the nice 5 pole motor, these are pretty sweet runners and together a pair can pull roughly 25-30 cars on level track.  Their not quite the retro-art deco feel I want for my layout, but I've always had a soft spot for high hoods. And I've run these babies for hours at my club layout with no problems. If you ever run into one at a good price why not check it out!

[side note] - These sometimes apparently can have pickup issues with the contacts that direct current from the trucks to the motor. they can sometimes be moved out of place or squished down and make for some pretty poop running. An easy fix for this is to simply bend the wires back into shape so they make contact again. Though soldering some extra metal or a small spring may be a better more permanent solution(if there is a problem that is).

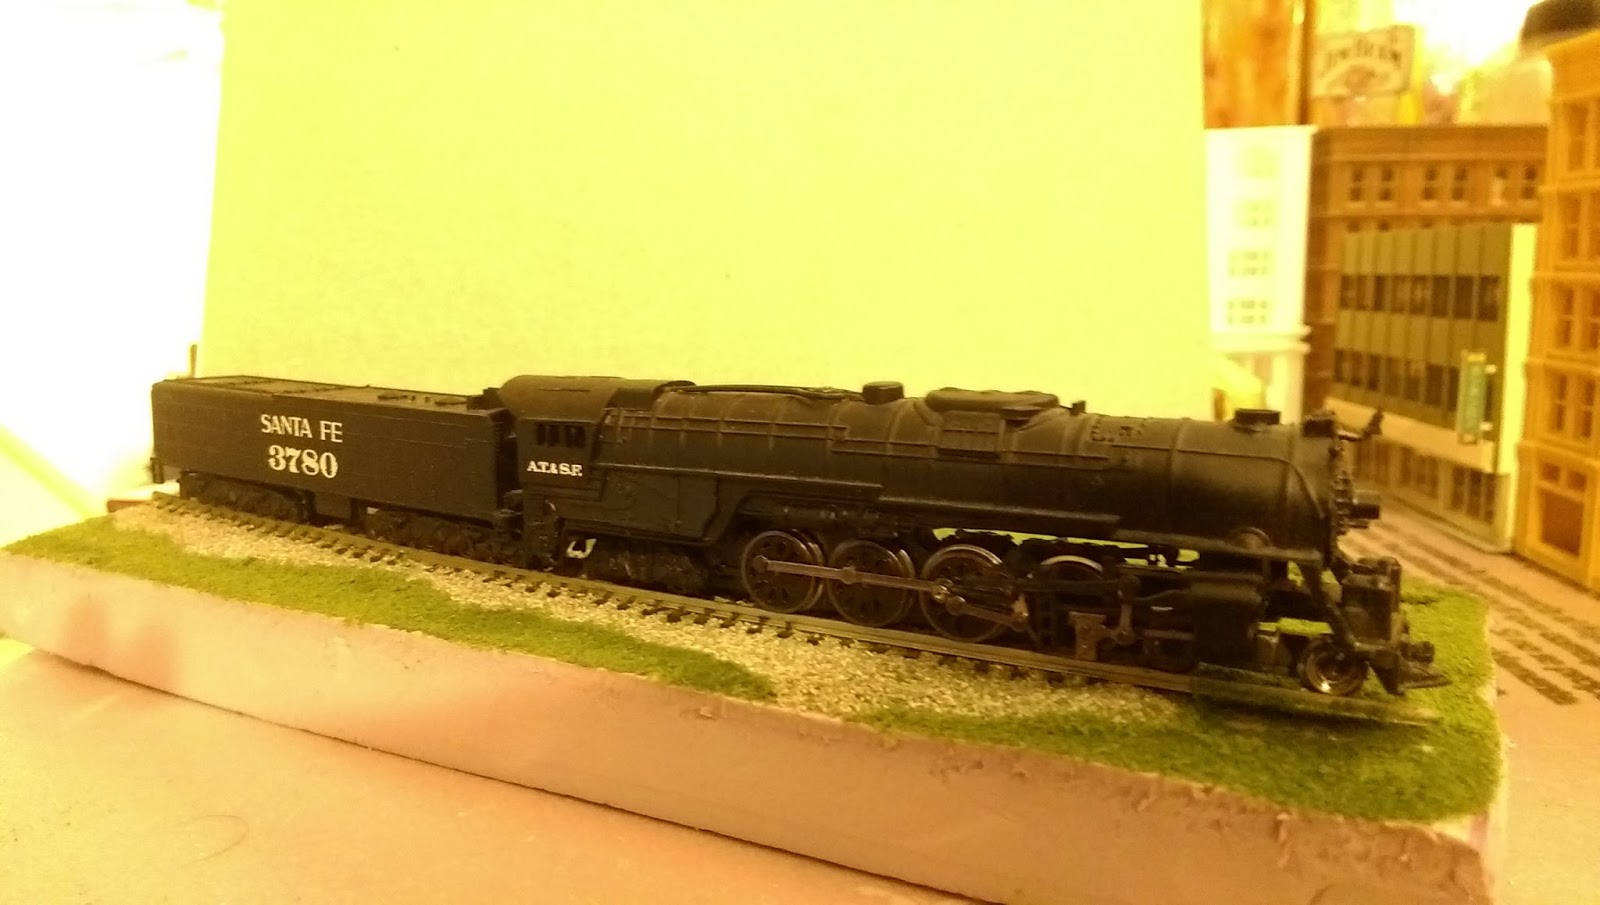
another picture for good luck


Thursday, February 25, 2016

Some progress on the station and a steam shovel


 Well I finally decided to do something so I began work on the station and the surrounding area. I used walthers union station. I really dug its art deco lines and its size. Was a fairly straight forward kit. It is well molded and there is little flash. some of the walls needed some extra fiddling however
to fit right, but nothing too serious. It technically comes "pre-colored" as in the plastic has its color molded in, but I decided to just go a head and paint it. I wanted a more marble building look as opposed to the concrete color they provide.

Here it is with the basic paint I applied. I use Tamiya Color acrylics, the roof and window sills are German Field Grey, and the walls are Flat white with a touch of light blue and flat black mixed in to make a cut marble color

 
Trains for scale

I decided to leave a wing off the building to give it the look of being part of the city deck. I also decided to put the pillars(aka, the front) facing the track. Now I know that this is technically not how its normally done, but,since the deck is a good 2 inches off the table, facing the station the 'right way' just doesn't look as good, and the pillars are one of the main points of the building. I want them seen, so I made the new entrance at road level behind the building and made the front the back. 

all aboard!

I then weathered it all with a simple black wash all over and a tiny bit of earth brown dry brushing on the bottom. I've also went ahead and began to build the platforms. they are just basic styrene and balsa wood for now, but I've got the materials to start work on the butterfly roofs as well. access from the station to platforms 2 and 3 the fancy checker board ones will be through underground tunnel so I gotta build that too. platform 1 is where the little switcher is  and just needs some paint.

 Is that a steam shovel?

I've also ballasted a good portion of the layout too, pretty much half actually. not bad for my first time. Though, I think I may have effed up one of my switches...oops


 why yes, yes it is
Also iI made a steam shovel, I've dubbed it Mary Anne and she loves the smell of industry in the morning. (the kit is by REM, and its very nice)

Saturday, February 20, 2016

Fleet Review: Kato E5A and Silver Streak Zephyr

Ah, the CB&Q Silver Streak. A gleaming silver testament to luxury and speed. A 2000hp stainless steel work of art. The Silver Streak began operation on April 15, 1940 on a daily Lincoln-Omaha-St. Joseph-Kansas City round trip. The trains name came from the Silver Streak Zephyr, The train portrayed in the Paramount Motion Picture. The real life train currently lives at the Illinois Railway Museum
        Kato released its version as a 5 car set in 2012, complete in a nice bookshelf case. The E5A units used the same chassis and mechanism as Kato's E8's, but had vastly different shells representing the Unique body of CB&Q units. 


 Classy

When you first open the case you get the standard info and warranty, along with some extra padding to protect your sweet new train. Initially only the top 6 slots are used, but since Kato also produced 2 other E5's (each with a unique name and number), they have very generously added 2 extra engine slots for them should you acquire more. 

 I couldn't help it, I acquired more....


 The engines themselves in true Kato fashion run like clockwork. They are fairly quiet, but there is some noticeable hum from the motors. The E5A included with the set(The Silver Bullet) has sexy streamlined skirting on the trucks, whereas the add on units, to represent more general use, do not. Both use the same mechanism, include 2 flywheels, and you are able to remove the pilot on both should you wish to double up.   MRC offers a drop in sound decoder if you want sound as well. Though I run DC for now.
Oh, and both units have no traction tires, so there is all wheel pickup, and all 3 axles on each truck are driven. I wouldn't worry about pulling power, they are quite hefty and they easily make it up the steep 2% grade on my clubs layout, and a pair have no problems pulling 30+(probably more) assorted freight cars around my home layout.

The cars have great, crisp details. and include a baggage, RPO, a pair of coaches, and an observation car. when you first get the set, only the drum head, tail lights, and marker lights are lit. Which given the small size, especially of the markers is pretty dang cool. If you wanna light these puppies up all you need is one box of kato's V2 lighting kits. there's 6 in a box, you get 5 cars, so there's no problem!


and then he said,"let there be light!"


All in all, this is a great set. It looks sharp, glides along effortlessly, and gleams in the sun like...oh forget it, just buy one. you wont be disappointed! 
Another A+ for Kato!

And so there was, and all was good...

Thursday, February 18, 2016

Track down, buildings up

its like a city grew here over night...

No, I didn't do all that in one night. I've actually been working on this door sized space waster for some time now. My first 2 posts may be somewhat misleading in that fact but whatever. So basically whats going on here is that at this point I've got all the basics down. all the track is layed, the city deck is up, and I've bought the first real building, Walthers Union Station. All the other buildings come from Hawk Wargames Dropzone Commander and are all just temporary card stock dealies (Dropzone will definitely show up more than once here, as they are 10mm scale which is roughly N).
      At this point only the outermost track is wired with power. I just put trains up cuz they look nice!


 You spin me right round baby


If what I described earlier about how I was thinking to do the turn table was confusing, well, now there's a picture to the words! Instead of a roundhouse like what normal people would use, I've decided to do this...yea, I know, but I like it so what the hell.


A glorified  table


This third picture is supposed to be showing off that sweet drawer in the middle I so expertly fabricated(I'm surprised it even worked actually). This is where all the electronic goodies will go, and hopefully some useful storage too. Its just made from a few bits of scrap wood I had lying around the house, and a small sheet of lauan and sliders I picked up at the hardware store. its held in with about 8 hollow core/drywall mollies. I probably went a tad overboard with em' but I really don't want that falling off on me. now that would be a bad day!

Next stop, New Port City

Tuesday, February 16, 2016

Getting Started


I've recently learned about the wonders of the mystical door layout. So, dats what I did. One of my friends was throwing out an old closet door, so I nabbed it from the trash and started from there.
I bought some pink insulation foam from Ye Olde' Hardware Store along with a few tubes of adhesive caulk.
I'm the kind of dude who likes to watch trains run, so this layout will be mostly a double track roundy rounder. I've got 2 sidings for storage and (very) light operations. Here's the plan.

So pretty!


Don't mind my amazing MS Paint plan. The basic idea, 2 trains some switches, a turntable, a few bridges, and some tunnel bits. A very basic plan for a beginner. I'm hoping that it will be sufficiently interesting with bridges and tunnels to break line of sight while also being able to run 2 trains. We shall see.
     The red area indicates the main "commercial sector" of the city. we'll call it the city deck. It will serve two purposes here. Break line of sight so trains temporarily disappear, and to act as a foreground for eventual skyscrapers. The other feature here is the turntable. I've decided to build it into the city deck, 1. cuz it looks cool, and 2. roundhouses are too damn expensive!
     The blue bits are a recess cut through both layers of foam straight to the bare door.  This area will be a highway. the yellow boxes will be eventual bridges.

Makin' tracks.....


What started it all

This :


Its like a nest of very tasteful rats

Sure its a little ratty, but this sad, sad little oval(along with my grandfathers massive Lionel collection) is what got me into this fine hobby. My father, during a time of monetary instability(aka: temporarily out of work) decided to purchase a train set to keep him busy. His choice of poison then, sometime in the 90's, was Bachmann's Empire Builder. A set that is still made to this day. We even still have that rickety old Northern that came with the set.


ugh, gross man 

My father grew up with O gauge like many other people, and while I being quite young at the time, never really cared as long as what ever it was, was a train. But living in a town house space was limited, leaving N scale a very appealing option, so that's what we went with. This little loop is all we ever really had for a long time. My father finding work not long after, abandoning our small layout. But it was far too late for me. I had been bitten. Infected. It really hasn't been until recent. that I have been able to acquire my own stuff. and as such, a layout needs to be built. and built it shall. Having grown up with N scale it only seems logical that that is what I went with(with a little O thrown in for good measure). 

I've always been a fan of skyscrapers and architecture, so I will try to base this new layout on a more urban setting. preferably in the mid 30's to early 50's. So hopefully I can keep the ball rolling and see where this N-venture takes me!